Decorating Ideas for Christmas Cookies
These are just a couple of different ideas to decorate your festive bakes, we even include a few little mishaps and how we fixed them!
3D Cutters & Royal Icing
If you’re looking to decorate with royal icing, we’re big fans of these cookie cutters because they emboss the pattern onto the cookie for you. This alows you to get your cookies looking good even quicker and if you’re pressed for time you could even get away with serving them plain!
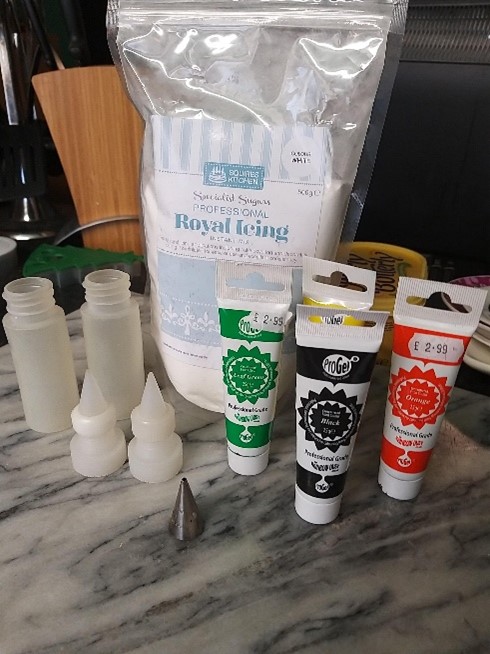
We used a mix of our icing bottles and a piping bag fitted with a Wilton number 3 nozzle, you can use either. As always we used Progel colouring to colour our royal icing.
At this point you will ideally have baked your cookies already. If you haven’t, you should probably do that now. Not to worry, we’re not going anywhere!
All baked? Perfect!
The first step is to mix your royal icing to a stiff peaked consistency.
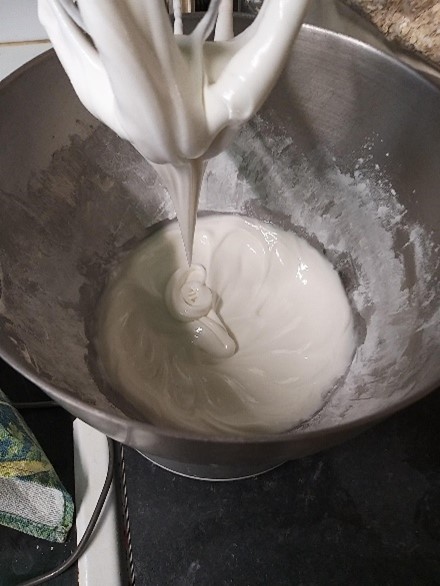
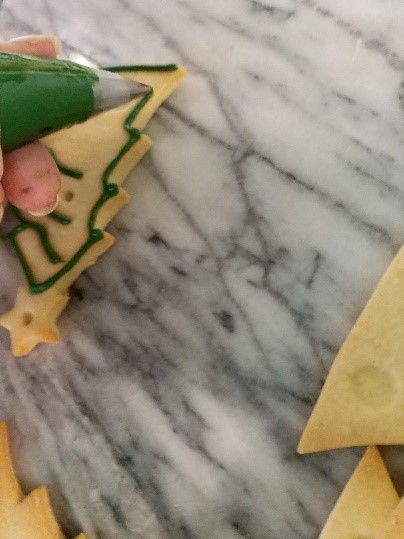
The next step is to do the outlines on the cookies. We split the royal icing into portions and then coloured them to suit the designs we were doing and then using the outlines the cookie cutter gave us, piped on the main outline and also the details inside the cookie such as the snowman’s face and buttons as shown below.
You will most likely have royal icing left over in all the colours you’re made, the outlining doesn’t need a lot. Keep a hold of your leftovers, you’ll need those in the next step!
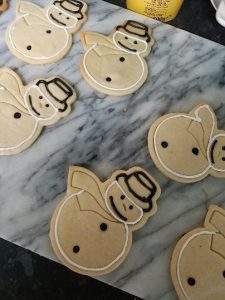
Once your cookies are outlined and the icing has dried, you’re ready to start flooding!
Firstly you will need to thin down your left over icing, just add small amounts of water and stir in until the icing is thin enough to run off the spoon quickly. We’re aiming for a consistency closer to soup than to water. If it ends up being too runny, you can just leave it to one side to dry out for a little bit.
When it’s ready, load it into your piping bag or bottle and begin flooding. Start at the top, close to the outline and let the icing flow from the nozzle. You will want to move the nozzle around the cookie as you go but because this icing is now runny, you can leave gaps when you pipe as the icing will flow into any gaps there may be. You can always use a spare nozzle or something clean and pointy to help drag the icing into position.

We used a clean brush to flood the snowman’s hat because it was very small. As an added bonus the bristles left an imprint in the icing, giving it a fabric-like texture!

Once we flooded the snowman’s scarf, we piped in some lines using the leftover orange icing that we had used to do his nose. We had not watered it down so the thicker consistency let it hold the pattern and colour in the runnier yellow icing.

While the icing was still drying on the trees we quickly put on some colourful sprinkles to give the effect of a fully decorated tree.
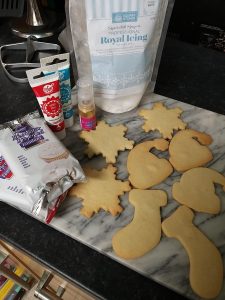
Plain Cutters & Fondant
For this section we will be decorating snowflakes, santa hats and stockings!
As you know we stock a range of fondants in every colour of the rainbow, we used the Wilton fondant for these cookies for the marshmallow-like taste. We also used some of the lustre sprays but this is optional, we also used some royal icing also but again this is optional.
As with the royal icing, once your cookies are baked and cooled you are ready to go.
Roll out the fondant and use the same cutter as the cookie (that you’ll have cleaned of course!) to cut out the fondant.
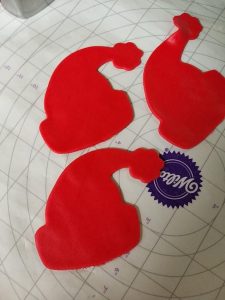
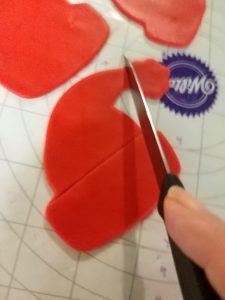
For the Santa hats we cut off the bobble and trim and then repeated the process using white fondant, this time discarding the white middle part. A bit fiddlier than the snowflake but still pretty easy to get a sharp looking hat!
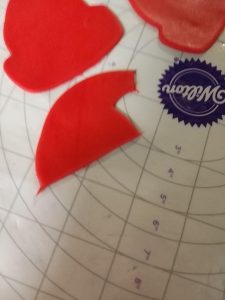
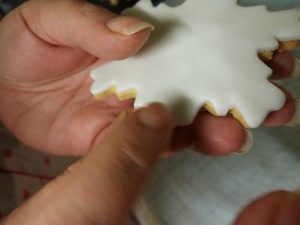
The fondant didn’t sit quite right on this part of the cookie so we just gently pushed it into the right shape.
To attach to the cookie you can use either royal icing, edible glue or brush a little water onto the cookie. Place fondant on the cookie and rub gently to attach. If it doesn’t line up perfectly you can gently rub the fondant into position.
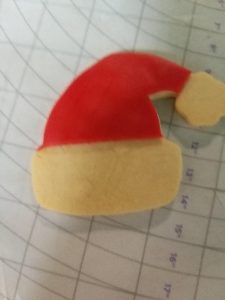
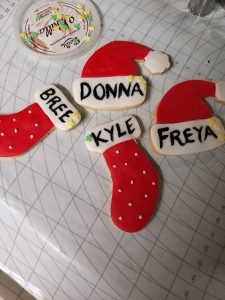
We added some extra decorations to these cookies by writing family member’s names on with edible paint as well as adding some small dots using royal icing.
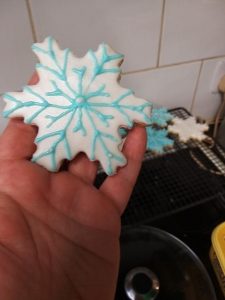
This snowflake was finished off with a royal icing pattern piped over the fondant and a quick spray of edible lustre paint.

As with the trees, we popped some sprinkles on the wet icing to add extra decoration and as with the fondant stockings, we added names with edible paint once the icing dried.
BONUS ROUND: Plain Cutters & Royal Icing
We had some plain cookies and some royal icing to spare once we’d finished baking, so we had to make use of them!
These were outlined and flooded in the same way as the embossed cookies.
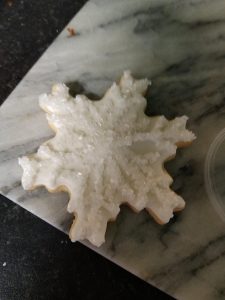
With this snowflake cookie, we piped a pattern onto the fondant using royal icing and then dipped into sprinkles before it dried.
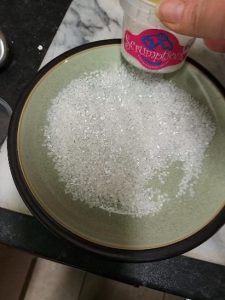
To get the fluffly effect on the trim of these cookies, we dipped the cookies in a white sprinkle whilst the icing was still wet.
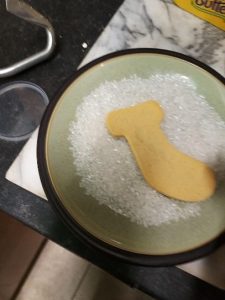
It is important to remember to let the colour you don’t want the sprinkle to stick to dry first!
A Mistake Into a Triumph

The flooding on this cookie went a bit wrong, we added a little too much water as you can see from the fact that the icing is translucent in places.
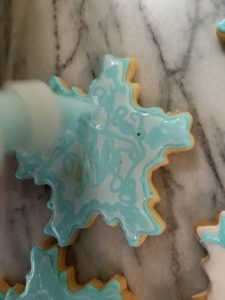
As we had some stiffer royal icing to hand, we quickly piped that on to see if we could thicken up what was already there.

While we couldn’t mix the two icings enough to blend the colours it did thicken up quite nicely and we ended up with a cool marbled effect!
This just goes to show that while mistakes can and will happen, quite often they can be fixed easily enough. At the end of the day, baking should be fun so if things don’t go to plan it’s an opportunity to think outside the box and try something new.
And if that doesn’t work, you can just cover it in sprinkles and eat it with a cuppa, nobody will ever know!
