Halloween Cookie How To
As Halloween is our favourite holiday and we only just missed it last year we had to make up for it this time around. What better way to get into the spirit (no pun intended) of the season than with some spooky cookies? This quick guide may be of a ghoulish nature but you can apply the techniques to cookies of any theme you care to choose!
Recipe:
275g (10 oz) Plain flour, sifted
5ml (1 tsp) Baking powder
100g (3 ½ oz) Caster sugar
75g (3oz) Butter, diced
1 Medium egg, beaten
30ml (2 tbsp) Golden syrup
½ tsp Vanilla extract
Mixture makes approximately 14 cookies, depending on size and shape.
Icing:
500g Royal icing
Food colouring
Preheat the oven to 170°C / Gas mark 3
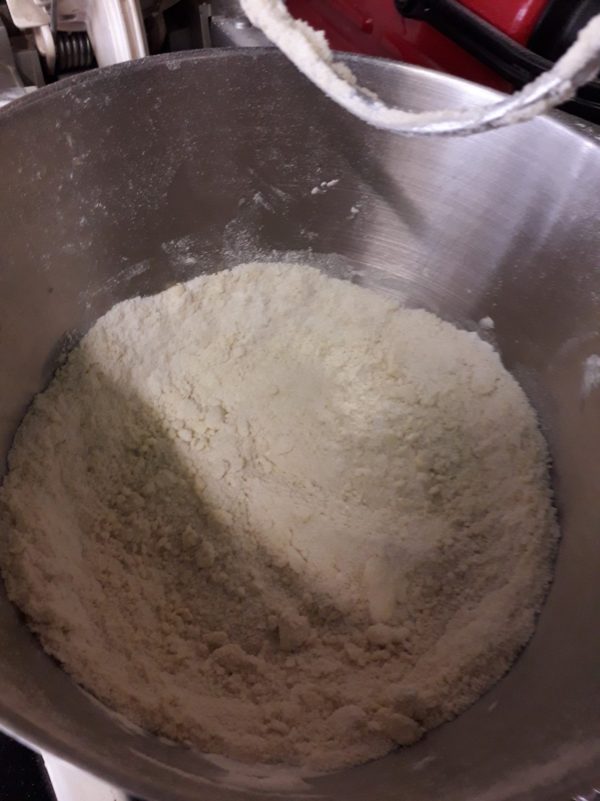
Place flour, baking powder and caster sugar into a mixing bowl and then add butter and rub together with your fingertips until the mixture resembles fine bread crumbs. Make a hollow in the centre and pour in the beaten egg, golden syrup and vanilla extract. Mix together well, until you have a ball of dough. Place the dough in cling film and chill in the fridge for 30 minutes. Roll out the dough to 5mm thickness and stamp out cookies using shaped cutters. Place on a greased baking sheet 5cm apart to allow enough room for cookies to expand slightly during baking. Bake for 12-15 minutes until golden brown and firm.
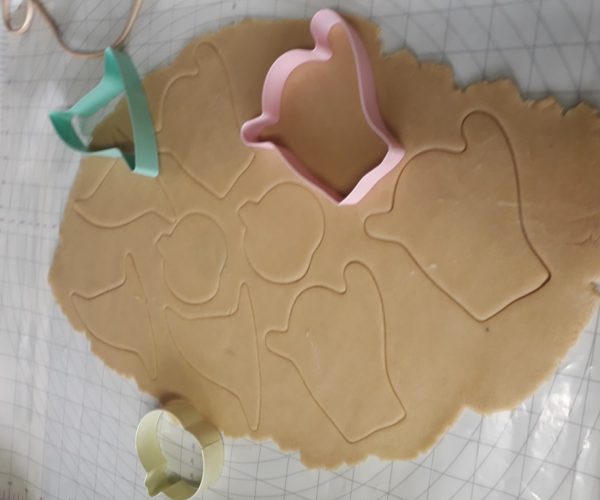
We used the Kitchen Craft set of 3 Spooky Cookie Cutters and we also borrowed the recipe for this post.
Once baked, leave the cookies to completely cool to room temperature before decorating.
Rather than use a greased tray, we used PME Release-A-Cake sprayed onto a reusable silicone baking sheet.
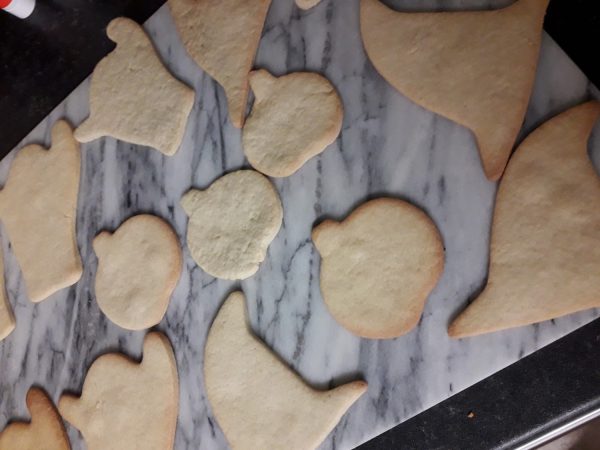
The royal icing can seem intimidating, but it doesn’t have to be! To decorate with royal icing you will need two consistencies for each colour, the first being a stiff mixture so you can pipe the outlines and once that has set, a more watery batch so you can flood the cookie. OK, that still sounds like a lot of work but we think we might have a more manageable method for you to try.
What we do is make one large batch of plain white icing, adding water to the Wilton Royal Icing Mix until it is reasonably firm, you want it to hang on to the whisk and not fall off. Then split it into portions for each colour you’re going to use. We used white, black and orange in equal amounts and a little bit of green to do the pumpkin stalks. You can use as many colours as you like but it always helps to plan your colour schemes first.
Once you have split the icing into your separate portions add your colouring to taste. We used the Progel colourings as they have a strong colour to them and being gel based they won’t affect the consistency of the icing. Of course, you can use a liquid colouring but you may need to add more icing mix if it ends up too runny or you can just make the initial batch a little stiffer.
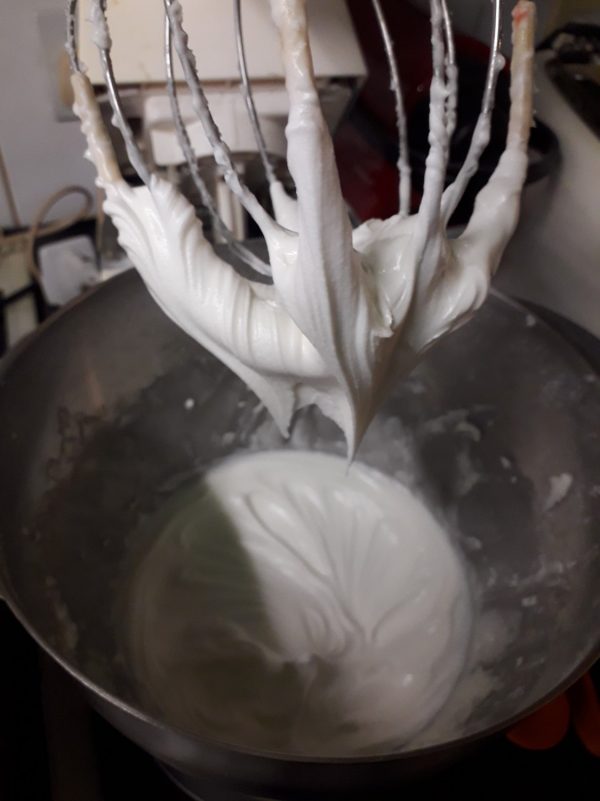
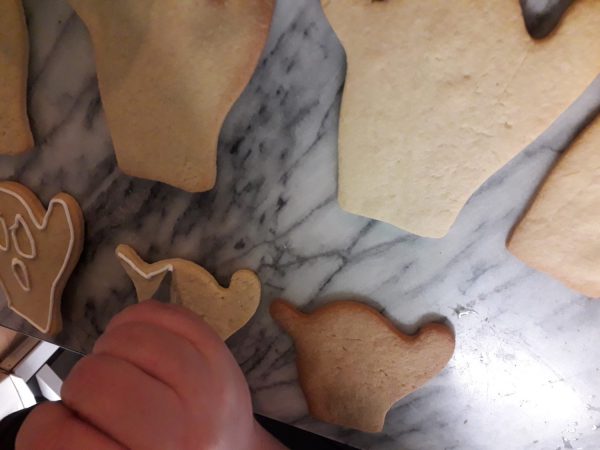
At this point you are ready to start, put half of the icing into a piping bag with a fine nozzle, we used the Wilton 3M fine tip for this. Slowly pipe the outline onto the cookies. We found it easier to get a good outline by lifting the nozzle away from the cookie once you have started as it helps avoid any snagging or tearing of the icing although if you end up with any breaks in the outline you can just go back and fill it in. Once you start flooding small mistakes can get hidden quite easily! If you have any details you want to put in your design (ghost’s eyes for example) you can use your outlining colour for that too.
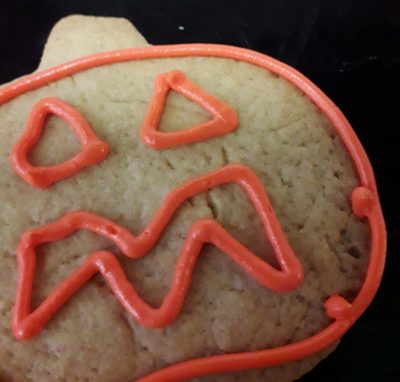
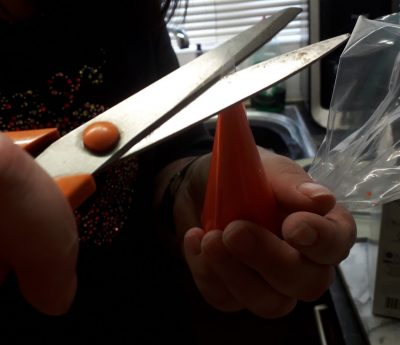
Once you have outlined all your cookies in their respective colours the final stage is the flooding. This is where those portions of icing you had left over come in, you will have to slowly add in water to your icing until it gets to a runny consistency, so it flows from your spoon when you lift it out of the mixture. Once ready, add this into an uncut disposable piping bag. This could be the trickiest bit as once you have filled the bag, twist it off so it won’t leak as you will need to hold it point up and snip the tip off to give you control over the flow of the icing. Now you can flood the cookies (starting with the first cookie you outlined as it will have had the longest drying time) by directing the tip around the inside of the outlines you have made. Don’t worry too much about filling every nook as gravity will drag the icing down and it will form an even layer inside your outline.
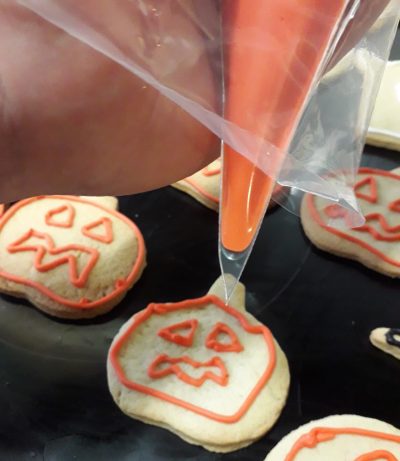


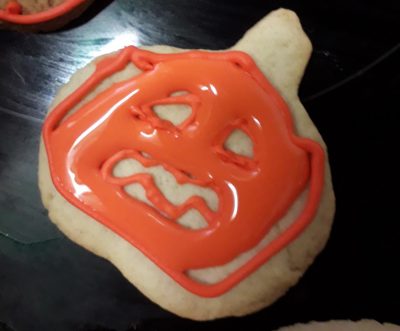

We all flood down here, Georgie.

We added some extra decorations to the witches hat using the stars and balls from the Sprinkletti Spooky Mix.
Once you’ve done all your flooding the only thing to do is leave them to dry until they’re ready to eat!
