Quick Cupcake Tutorial
Cupcakes are the gateway into baking and probably the place where most people start when developing an interest in creating their own cakes. They’re small, they’re fun and pretty much everybody in the world likes them so it’s an obvious choice!
Unfortunately, the obvious choice isn’t always the easiest and we have had a few people asking for advice so here is what we hope to be a helpful and simple guide to making cupcakes. For the more expert among you this could well be going over things you already know inside and out but there might be something new or interesting in there for you. Plus, there’s a recipe you might like AND a picture of a cat so there are added bonuses throughout.
You don’t have to use this recipe if you’re following the rest of the guide, these principles will apply to most cupcakes you might make but we like it, feel free to give it a go!
Recipe
Cupcakes:
175g Plain flour
1 tsp Baking powder
150g Butter, cubed and soft
150g Caster sugar
1 tsp Vanilla extract
3 Eggs
Buttercream
60g Butter, cubed and soft
250g Icing sugar
½ tsp Vanilla extract
½ tbsp Milk
Food colouring of your choice (optional)
Preheat the oven to 180°C / Gas mark 4
Sift together the flour, baking powder and salt in a bowl.
Put the butter and sugar in a mixing bowl and beat until pale and fluffy. Stop occasionally to scrape down the side of the bowl with a rubber spatula. Add the vanilla and then start adding in the eggs, one at a time, beating well after each addition.
Slowly add the sifted dry ingredients and beat on a low speed until combined.
Divide the mixture between the muffin cases. Bake in the preheated oven for 20-25 minutes or until well risen and a skewer inserted into the middle comes out clean. Remove from oven and allow to cool completely before decorating.
Buttercream
While the cupcakes are cooling down, you can make the buttercream.
Put the butter in a bowl and beat until very smooth and soft. Sift half the sugar into the bowl, beating until incorporated. Add the second half of the sugar and beat slowly. Add the vanilla. Slowly pour in the milk and when it is mixed in, beat for 3-5 minutes at a higher speed.
Add a few drops of the food colouring of your choice, if using. Beat until the colour is evenly incorporated.
Pop the buttercream in the fridge until required / your cupcakes have completely cooled.
The Tutorial
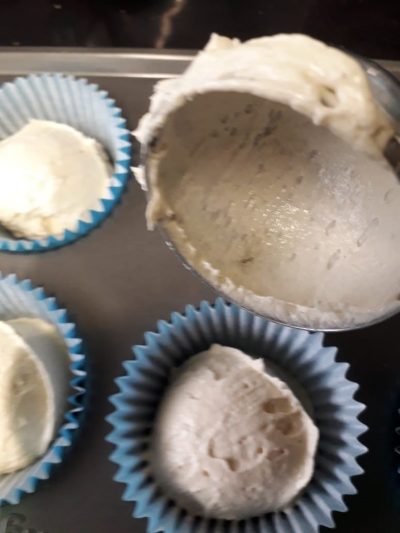
The very first action shot of the blog! You don’t have to drop the batter in from a height like this, but it is fun to practise.
A fairly common question we are asked is how to get your cupcakes looking as uniform as possible, what has always worked for us is using a serving scoop which allows you to make sure every cupcake case gets the same amount of batter, plus the amount the scoop puts out will fill the case nicely once baked. If you end up with more batter than spaces in your baking tray you can always make a second small batch after for testing / eating when no one else is looking.
Whilst they’re baking away you can get started on preparing your topping, but you can do anything you like, we’re not here to judge. Once the time is up you should end up with a batch of cupcakes that all look the same and are just proud of the top of the case.
If you end up with cupcakes that look like pyramids then your oven was too hot, as strangely every oven cooks a little differently due to any number of small factors and what ends up happening is you end up with an uneven bake. On your next batch try knocking the temperature down by about 20 degrees and bake for an extra couple of minutes and this should give you nice flat(ish) cupcakes.
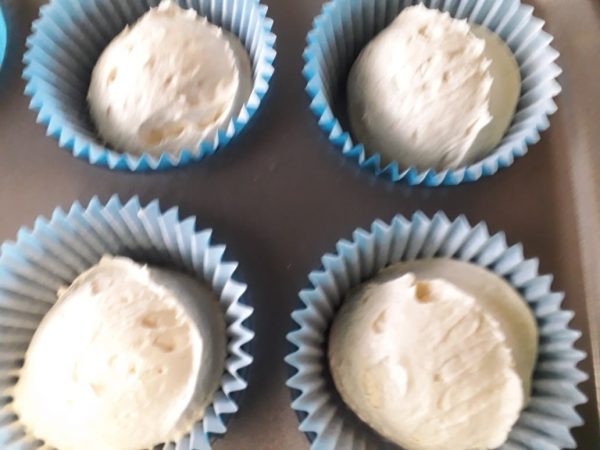
Four cupcakes ready for the oven. They’re all about the same size without all the hassle of using tablespoons, rulers or bits of string to measure them out.
*Science bit* – when using a raising agent in baking (baking powder for example) this will react with your wet ingredients to create bubbles in the mixture that then expand as it bakes, which gives your cake it’s fluffy texture.
Cakes bake from the outside in and when the temperature is too hot the outside will bake and crust up quicker than the inside and once it’s crusted it can’t rise any more around the edges. This means you’re left with a load of raising agent in the middle that is going to do it thing for the rest of the bake time and it’s only got one direction to go; up!
This is a bit of a learning curve as you not only have to learn how to bake but you’ve also got to learn how your oven bakes! Our rule of thumb is take the temperature down 20 degrees and bake for an extra couple of minutes but with a bit of practise you will have a better idea of what small adjustments you might need to make to any recipe you use. – *End of science bit*
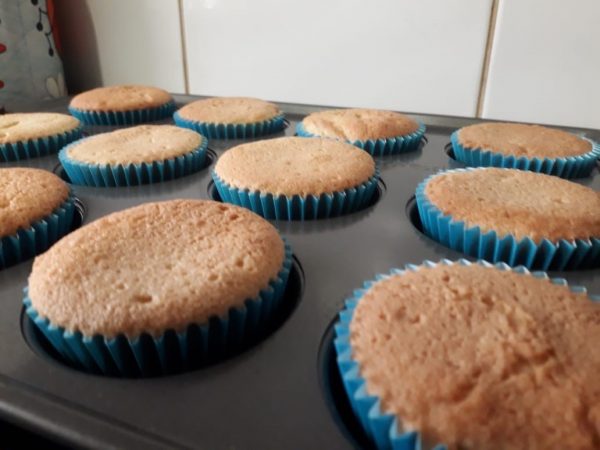
All things going according to plan this is how your cupcakes will come out. They’re not perfectly uniform but they have an even rise and the small imperfections are just begging to covered with a topping, which will conceal a multitude of sins!
Now the hot stuff is all done, you are ready for decorating. Once the cakes are out the oven you’ll want to leave them on the side for a half hour or so, just until they come down to room temperature as decorating on a cake straight out the oven is going to melt anything you put on it. This batch of cupcakes we used a buttercream frosting to decorate, so let’s dive into that.
Once you’ve made the buttercream (as to our recipe or using your own) you have the option of colouring it. This is a simple thing to do that can really make your cupcake stand out and means you can decorate for just about any situation. We used the Progel Sky Blue colouring gel in the icing for a couple of reasons. Firstly, it has a really powerful colour across the range, so you’ll only ever need to use a few drops, so a tube will last you a lot of bakes! Secondly, as you’re only using a small amount it the consistency and flavour of what you’re adding it to won’t be affected. Thirdly, it’s versatile and you can add it to just about anything (icing, batter, you name it!) although when adding it to batter you would want to get the mixture to the desired colour and then add a couple more drops as when the cake expands during baking the colour will fade a little.
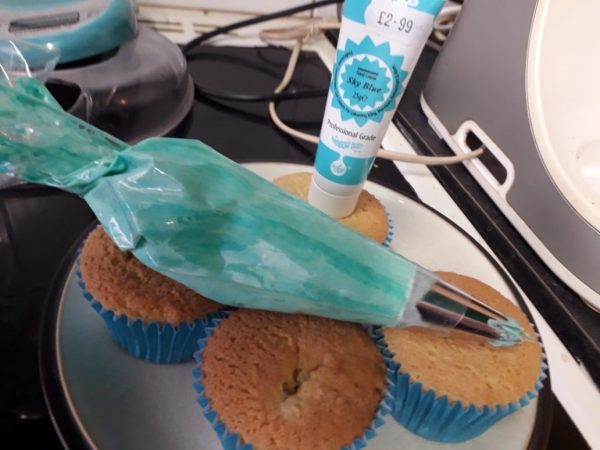
We’ve used Progel colouring on the buttercream here. We’re quite enthusiastic about this as you’ll see below but the colour alone speaks for itself!
The next step can seem the most intimidating, which is getting you buttercream onto the cakes. First, you will want to get your icing bag and nozzle and then cut the bag to accommodate the nozzle. A good rule of thumb is to lay the bag flat on your counter and then line the nozzle up so the edges are level. Finally make a cut across the bag about 2/3rds of the way down the nozzle from the base, the idea being you don’t want the bag to get in the way of the buttercream but you need enough bag to hold the nozzle without firing it across your kitchen when you squeeze the bag!
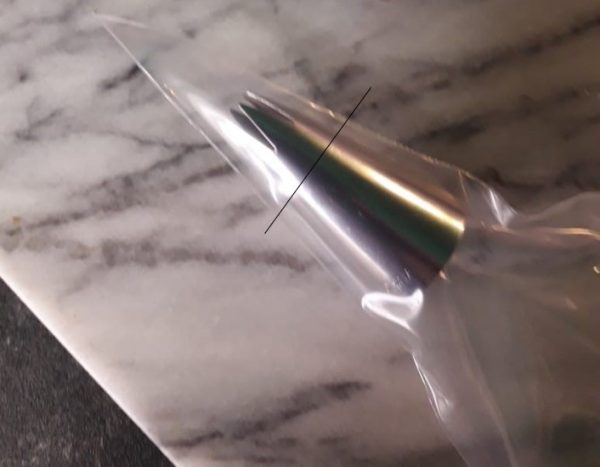
We’ve added the line as a visual guide to where you will want to cut the tip off your icing bag. You don’t have to get it exactly right but it’s always better to err on the side of caution. It’s always easier to take more off than put it back on!
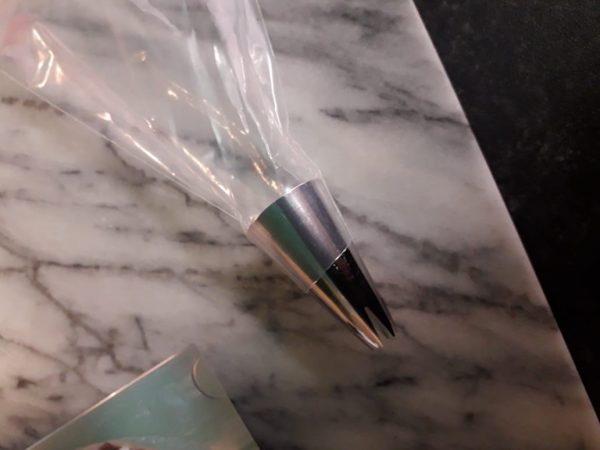
This is roughly where you want the nozzle to sit in the bag. A good way to make sure is to gently push on the bottom of the nozzle just to make sure it doesn’t come out of the bag, better to find out before the bag is full of buttercream!
You’re now ready to put the buttercream into your icing bag. There are a few ways to tackle this, you can use one hand to hold the bag open and use a spatula to scoop it in, you can get someone to hold the bag for you, but our personal favourite is putting the bag in a glass and scooping into that.
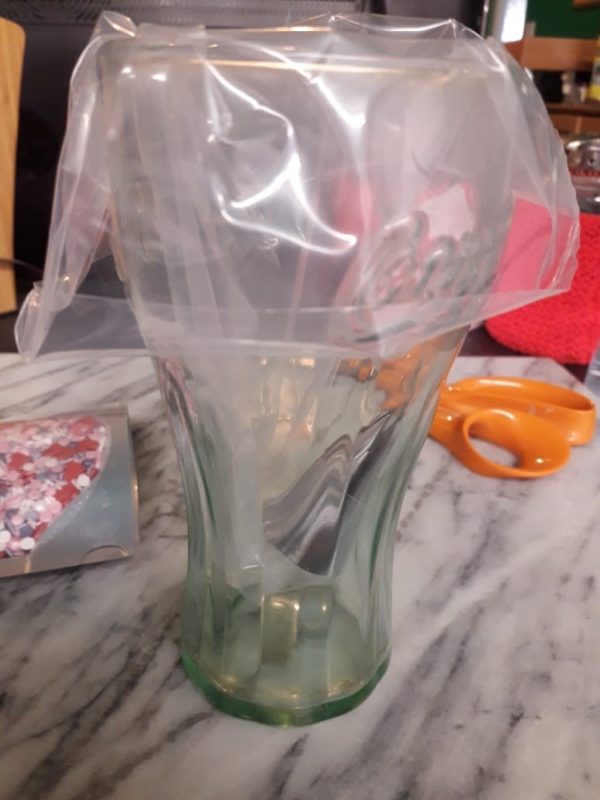
The perfect helper, doesn’t move, doesn’t cough, doesn’t ask for a taste!
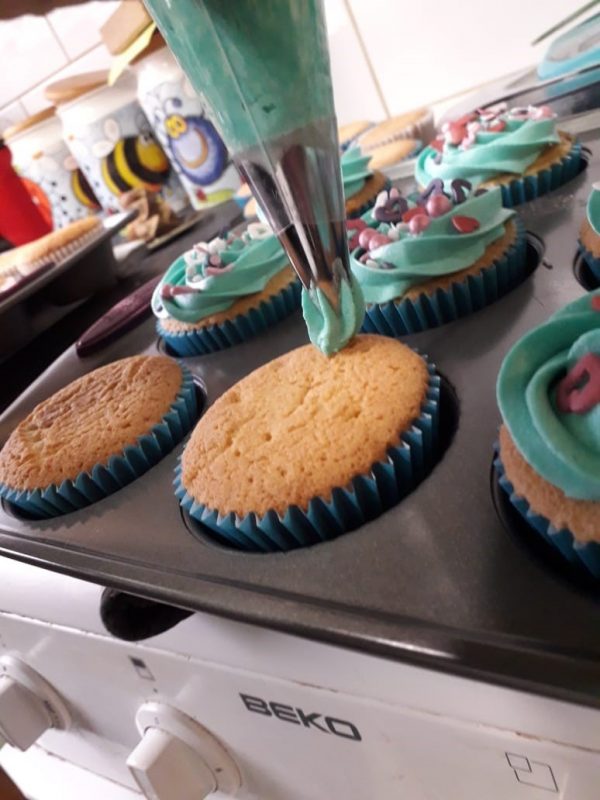
The start is a very good place to start…
Once you’re all bagged up, you’re ready to start decorating, finally!
When putting on buttercream or any sort of frosting, you’ll want to start from the outside and spiral round to the centre of the cake, pulling up once you reach the centre. To get a really nice clean tip to the buttercream stop squeezing the bag just as you pull up.
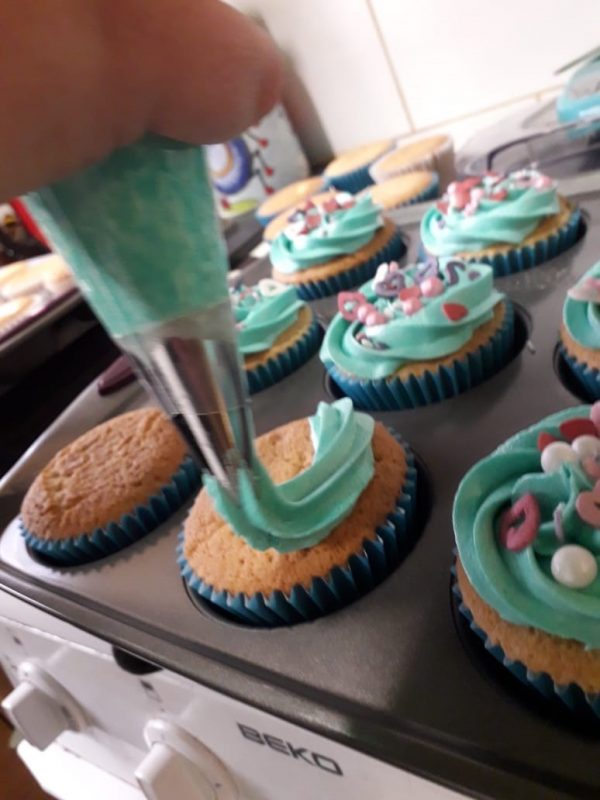
Coming around…
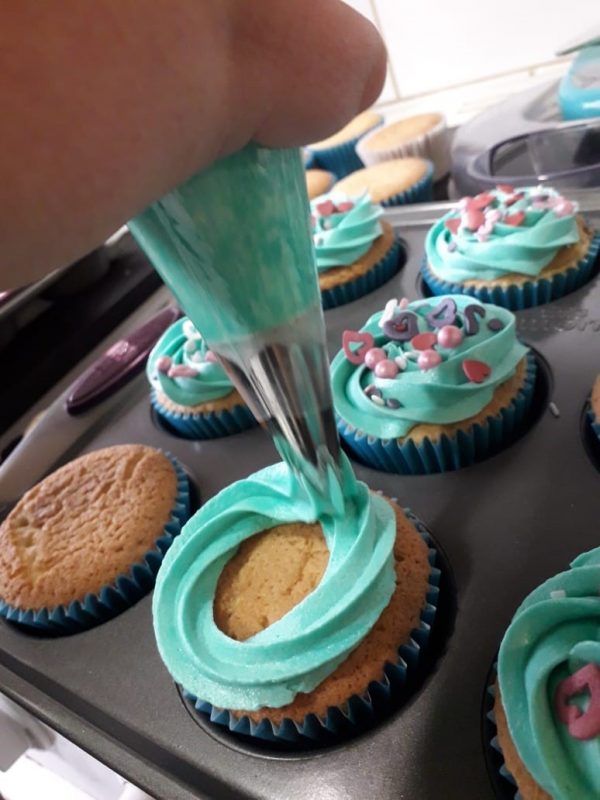
First lap is complete
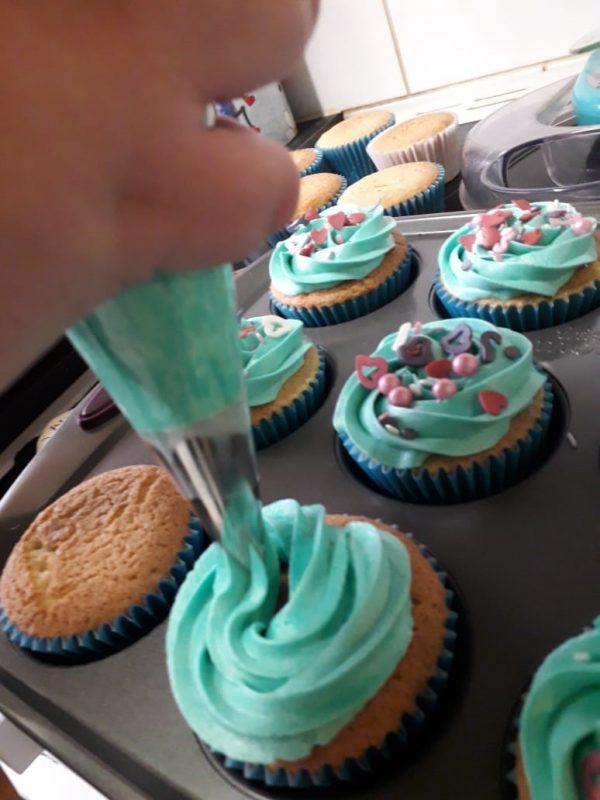
Keep spiralling in until the cake is completely covered, at the centre stop squeezing and pull the bag up to get….
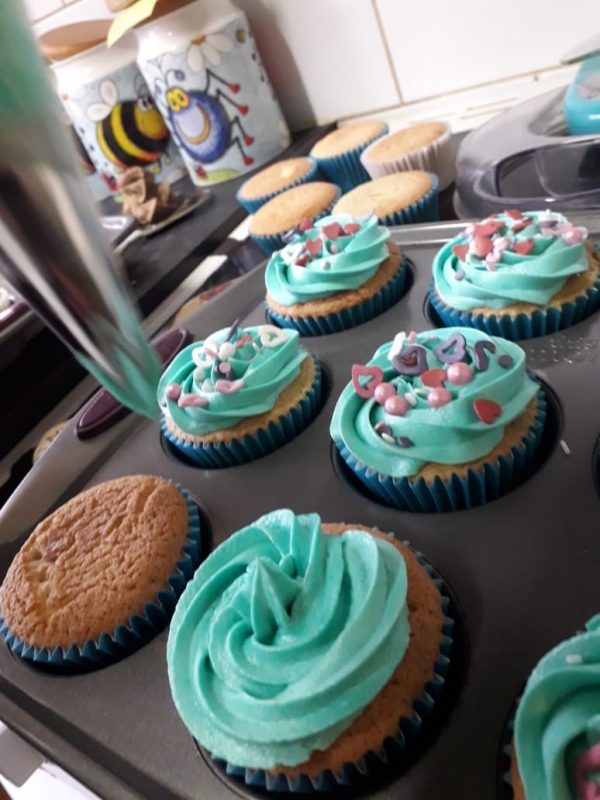
…A nice pointy tip to your buttercream! We used the Wilton 1M nozzle here to get that classic ‘swirled’ effect.
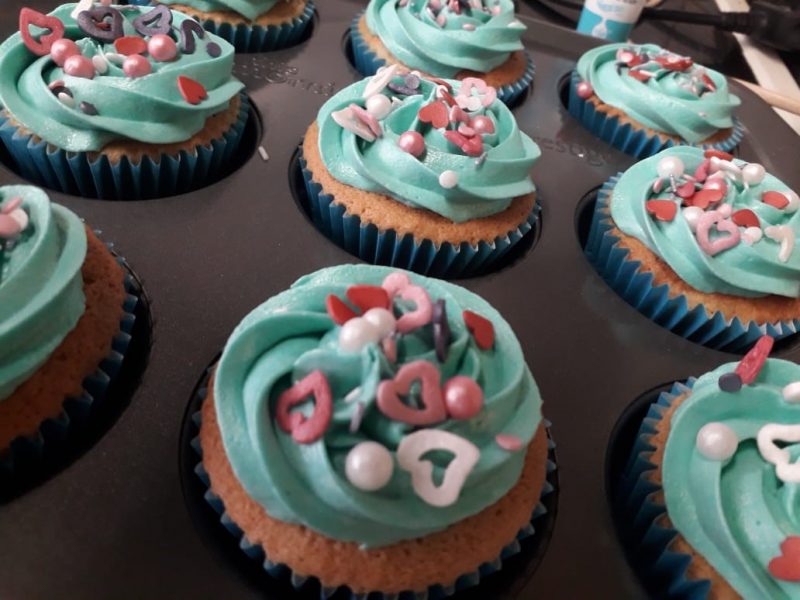
Now at this point you should have a batch of lovely buttercream topped cupcakes that anyone would be pleased to receive and this is such a classic cupcake look that you can’t go wrong. If you wanted to add a little something extra you can step into the world of sprinkles, as you can see in the background of the pictures above it can a pleasant contrast in both decoration and texture.
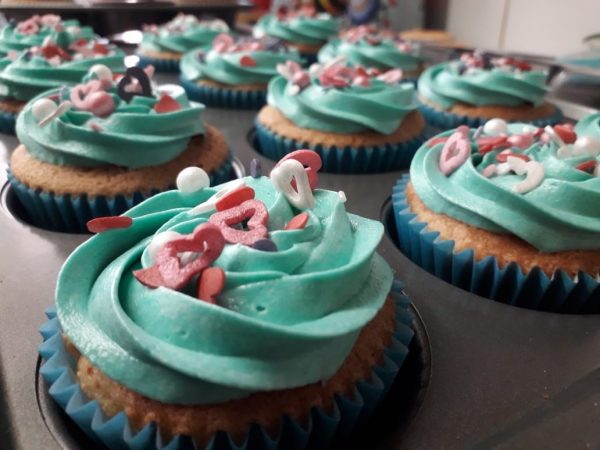
Sprinkles are as easy as it gets when it comes to finishing touches, you can just drop them on and you’re done!
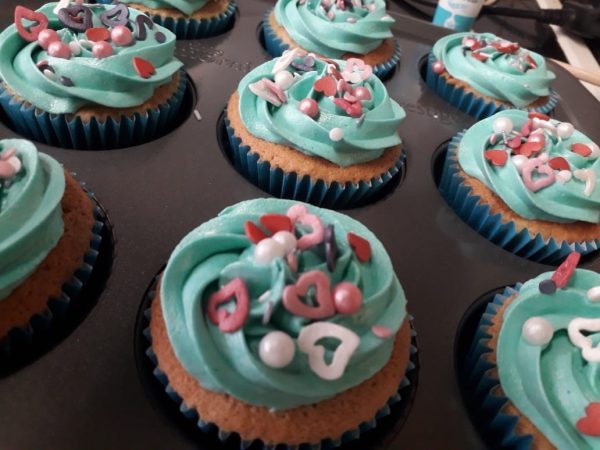
We’ve used the Valentino mix from Sprinkletti to finish these cupcakes.
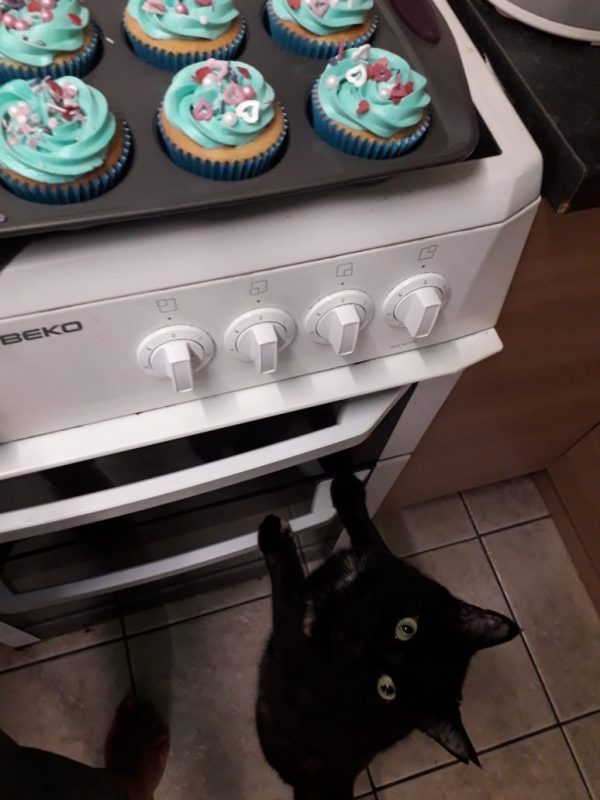
You know they’re good when other species are trying to grab a bite!
Hopefully that’s all been of some help, even if you have been making cupcakes for years, maybe there was a little trick in there or something of some use to you.
If there’s anything you would like to see covered in a future post please don’t hesitate to drop us an email or get in touch via social media, we’re here to help you be the best baker you can be!
